
 |
|
|
#51 |
|
Driving it like I nicked it
Join Date: Dec 2007
Location: Northern Ireland
Posts: 2,623
Casino cash: $14519  |
As Rob says, you've put some work into that car. Why not leave the carpet out? Too much?
Good write up! |
|
|

|
|
|
#52 |
|
S5 - Full Throttle
Join Date: Jun 2009
Location: Guisborough
Posts: 453
Casino cash: $4472  |
Baz; I'm not going too far with this car as I am keeping it Club Sport for now, however at the same time it will have just the bare minimum needed to keep it bearable as a daily driver. I'm trying to make it as OEM as possible, I want it to look more like a factory special than a full blown track hack.
Anyway they say a picture speaks a thousand words... 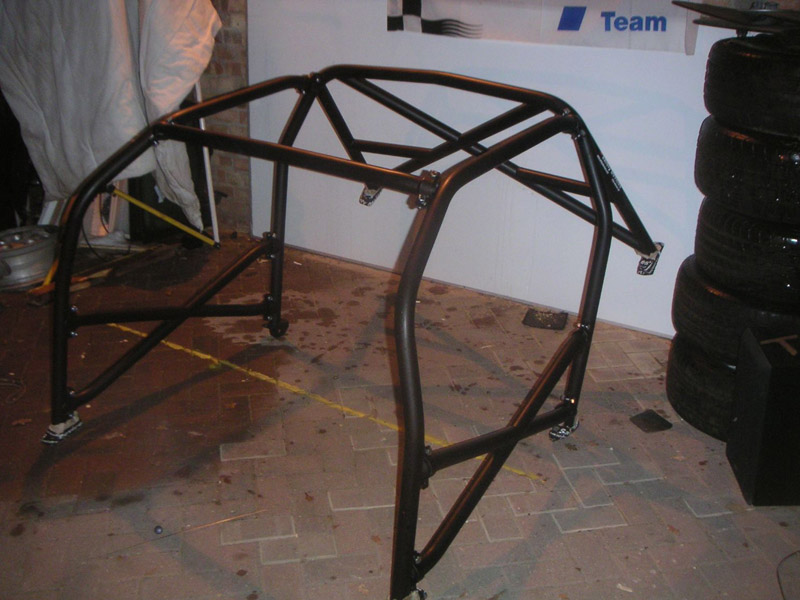
__________________
VAG Cars - www.vagcars.co.uk - North East VAG Owners Club |
|
|

|
|
|
#53 | |
|
CSL Register Uber-poster!
 Join Date: Feb 2009
Location: warrington
Posts: 5,419
Casino cash: $19783  |
Quote:
|
|
|
|

|
|
|
#54 |
|
S5 - Full Throttle
Join Date: Jun 2009
Location: Guisborough
Posts: 453
Casino cash: $4472  |
My seats mounted that low there there is no way my head will make contact unless I've already broke my neck and been decapitated, but will double check all this when fitted too.

__________________
VAG Cars - www.vagcars.co.uk - North East VAG Owners Club |
|
|

|
|
|
#55 |
|
S5 - Full Throttle
Join Date: Jun 2009
Location: Guisborough
Posts: 453
Casino cash: $4472  |
Well it’s been a few weeks without an update, but here’s a big one so you’ll need a fast internet connection at the ready, several cups of coffee and a few pro-plus caffeine pills to keep your tiredness at bay!
First up came a bit more wiring removal, mainly taking out the airbag wiring, several un-used connections and generally anything that wasn’t of great importance such as the vacuum line for the exhaust valve. All in all there was a fair bit more un-needed wiring removed since the last update. 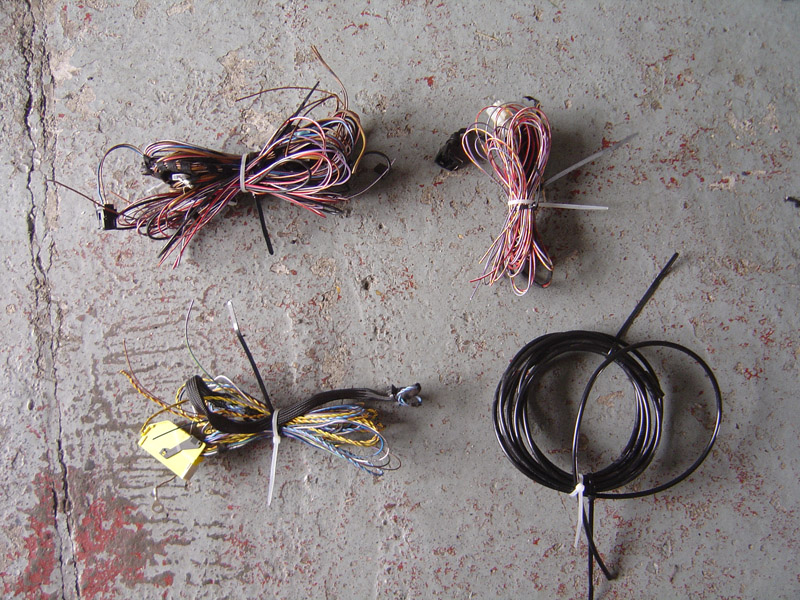 Car now sporting a light weight, no-frills interior wiring loom. 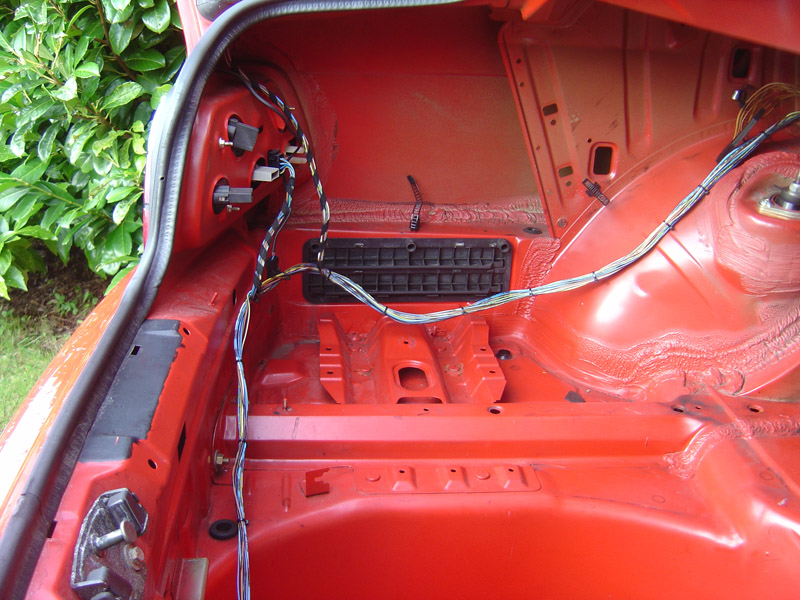 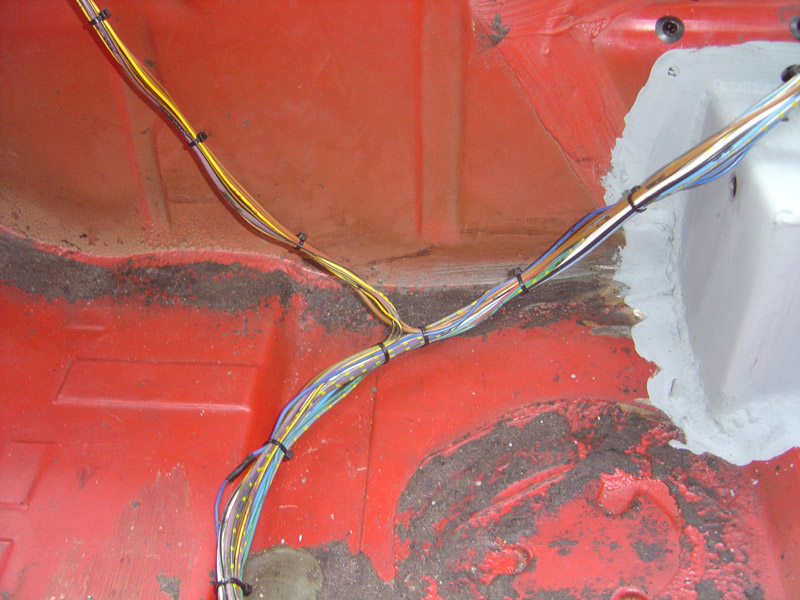 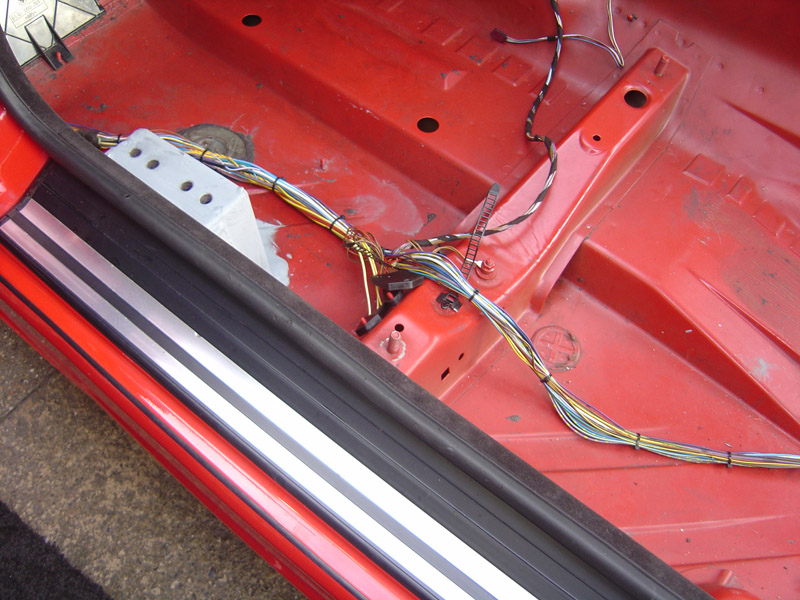 Now came a tiny bit of weight loss, since the car didn’t have any airbag electrics I figured I’d no longer need the airbag controller mounting plate and whilst the grinder was out decided the rear seats would never be re-fitted so that fixture could also be removed. 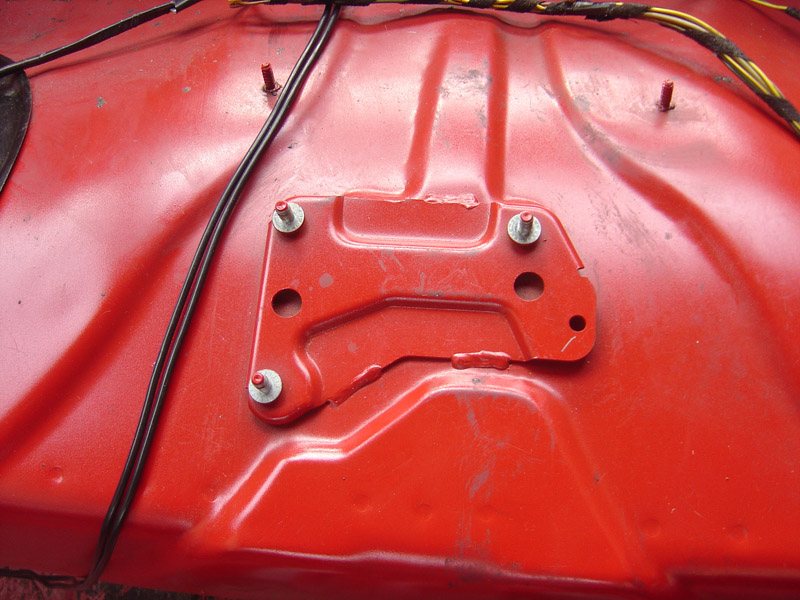 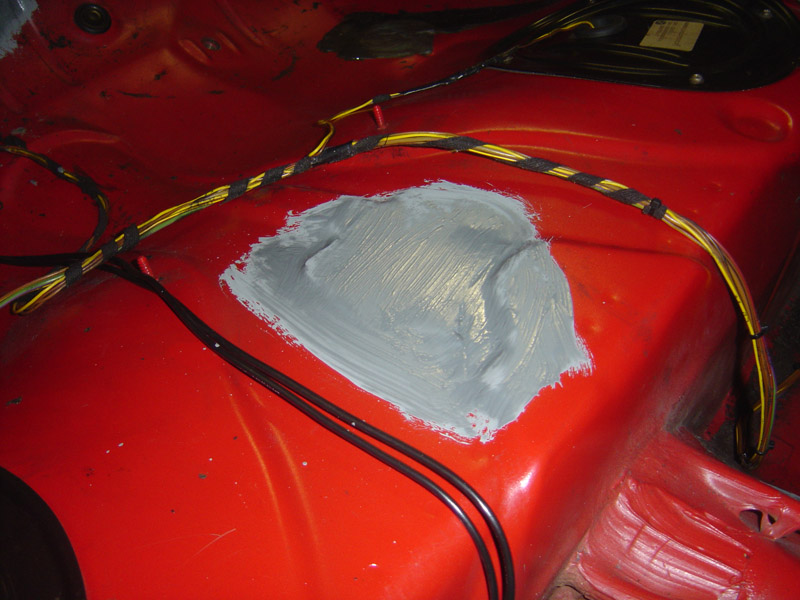 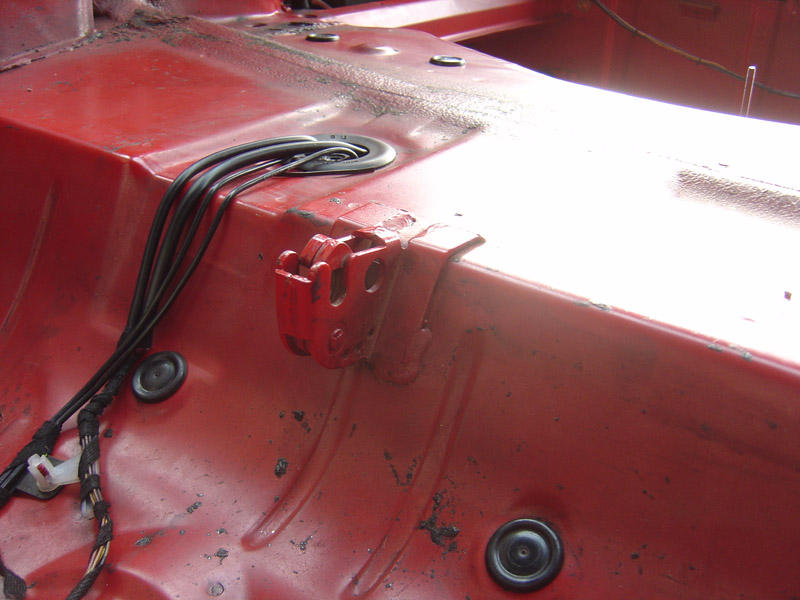 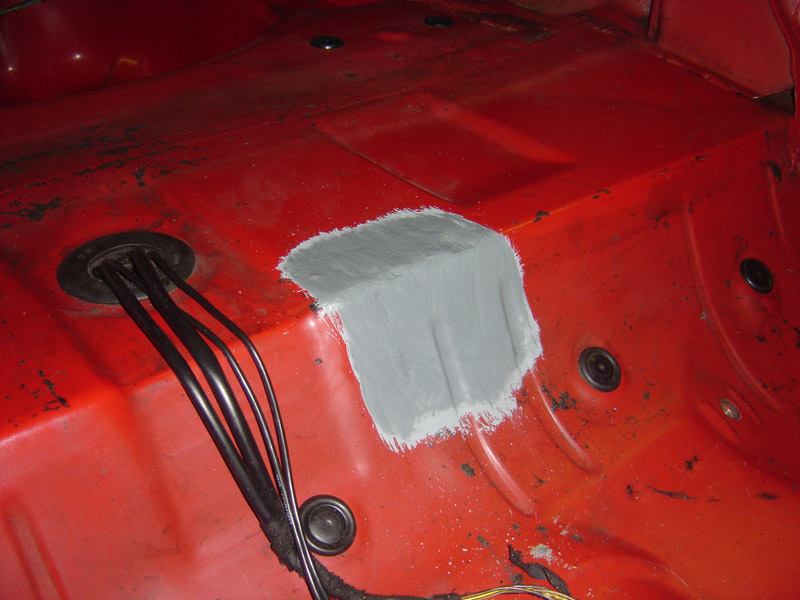 Now for the important bit; roll cage floor mount fitting. I hope people will understand the reasons there’s so few pictures, it’s a bad enough task for two people to undertake without having to stop every two minutes to take a photo. First up the car was parked on flat level ground and the floor pan was marked where the floor plates were to be welded in, next the grinder and sanding disc was used to prepare the surface for welding. 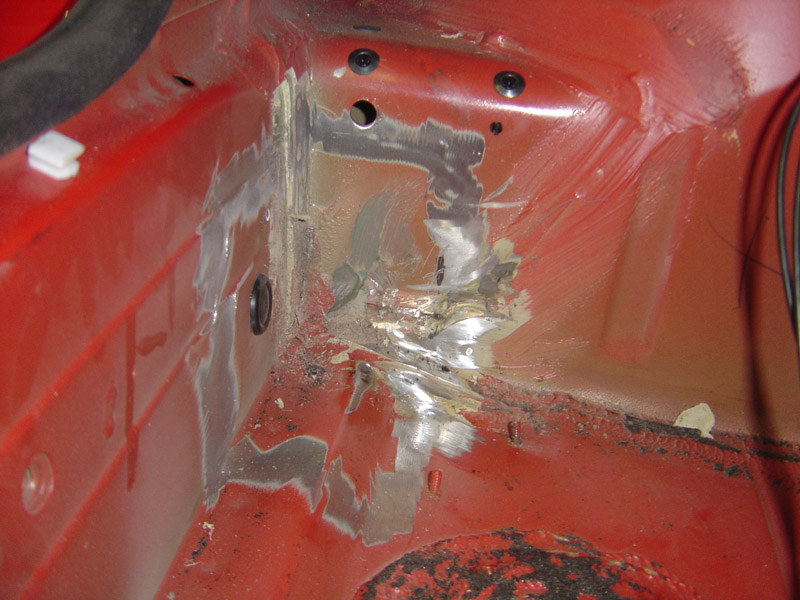 Then with the floor plates loosely placed in position the cage was fitted into the car and tightened up to ensure the correct positioning of the plates. This all sounds easy, but trust me the cage was in and out of the car several times before this process was complete. 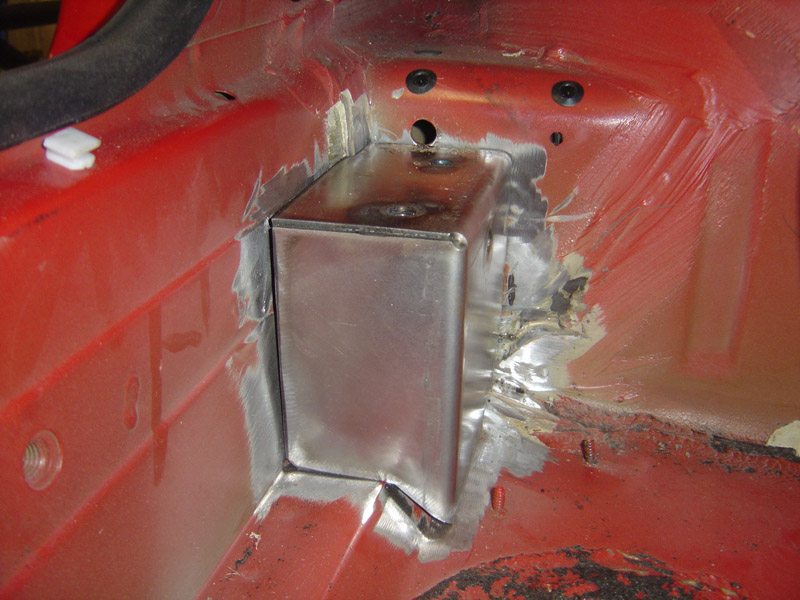 Next the floor plates were tacked into place and the cage, once again, removed. Now came the main welding, this needs to be done in a well ventilated area with one man on designated fire watch. The under body sealer will burn and it’s advisable to remove it before welding, or have someone scraping the warm sealer as the welding takes place. Again, I must stress I’m making this all sound very easy but I enlisted the help of a friend who is very talented when it comes to building special conversion cars with cages, his current project is a Mk2 Escort with an LS1 V8 engine. I recommend either taking your car to a specialist for a job like this, or having someone with a similar set of skills help out, you don’t want to ruin your shell. Now with the floor plates painted, they were coated with Galva-Zinc, a Zinc rich anti-corrosion paint. I applied three coats to both the floor plates and the underside of the car, allow several days for this paint to fully cure before painting on top of. 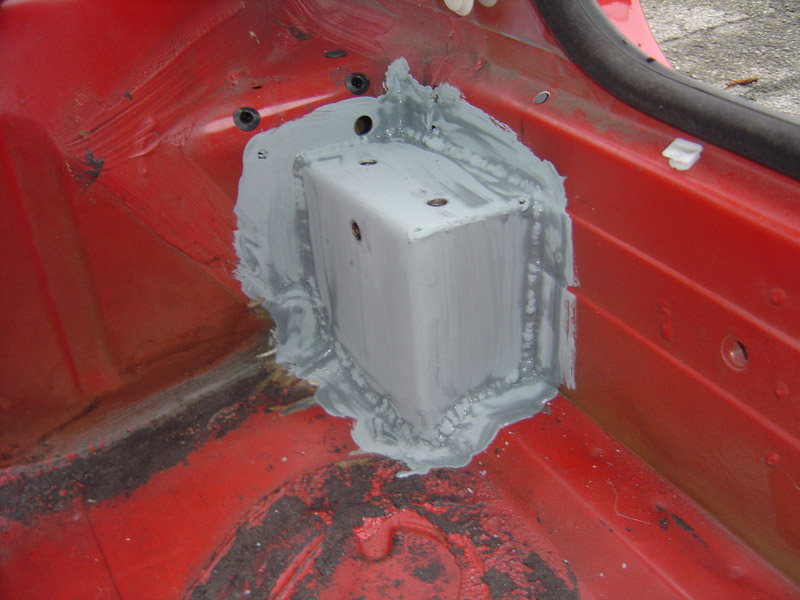 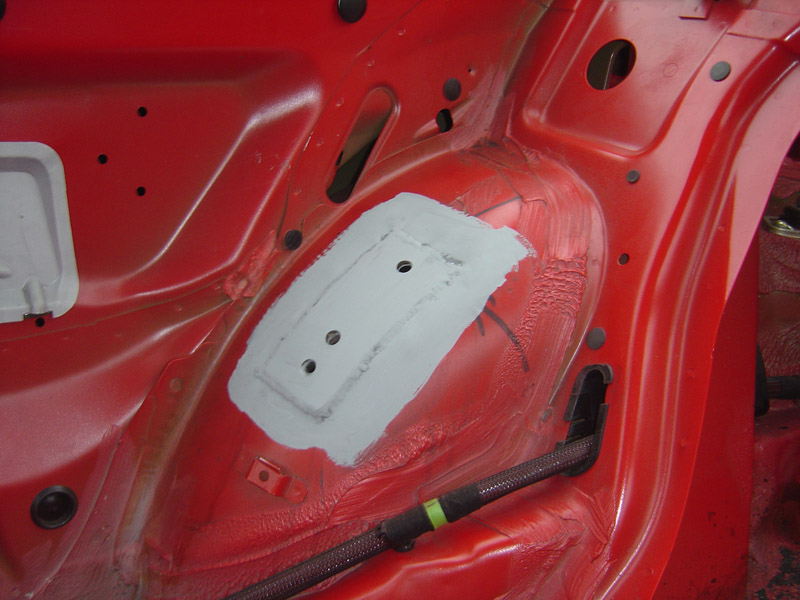 Again, killing two birds with one stone whilst the welder was out I decided to fit some harness spreader plates to the exhaust tunnel. I didn’t want to remove the exhaust, prop shaft and heat shields for this job so decided to get some FIA approved plates that could be fitted internally. As you can see from the picture the threaded lug is staggered so it cannot be easily broken away or pulled through the plate in the event of an accident. 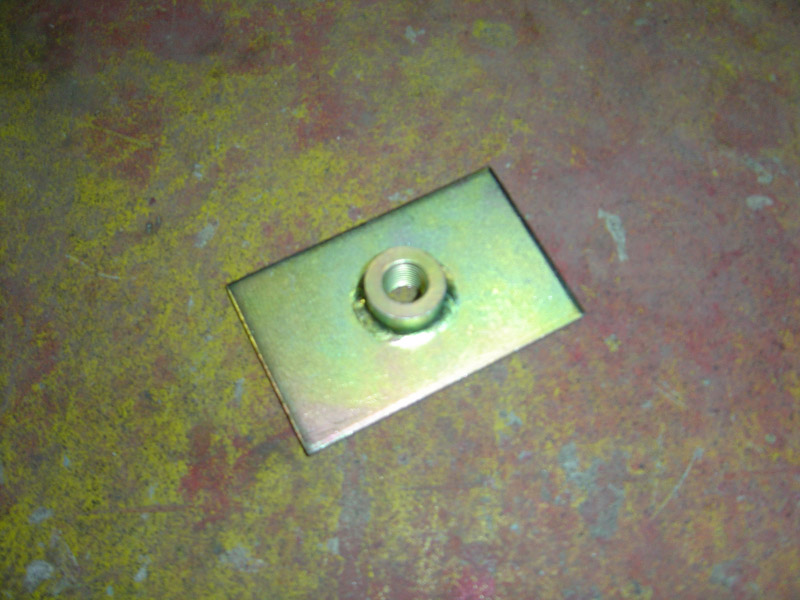 Again more anti-corrosion paint was used. 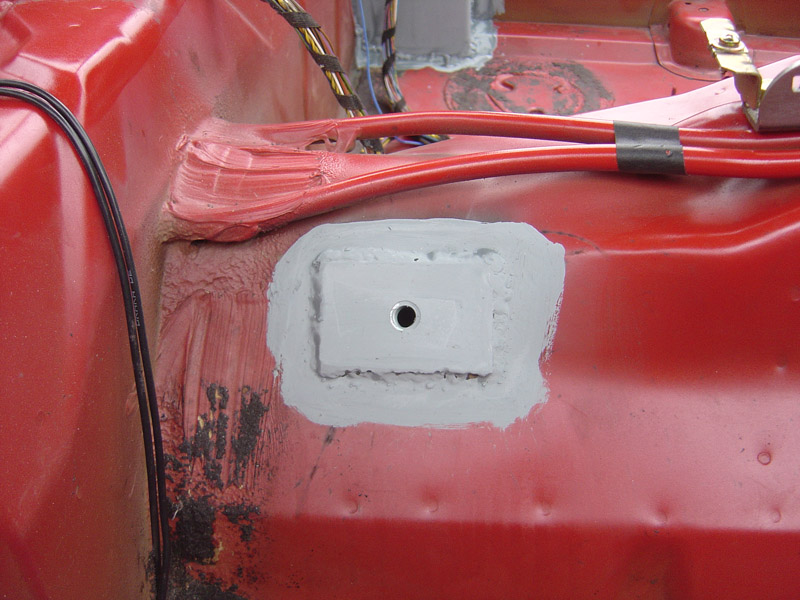 Now as mentioned several times before, the carpet in this car is to be re-fitted so I needed to paint the floor plates black so that they wouldn’t look out of place when they protruded through the carpet. I simply used some satin black paint for this job, and used the anti-corrosion paint as a primer. 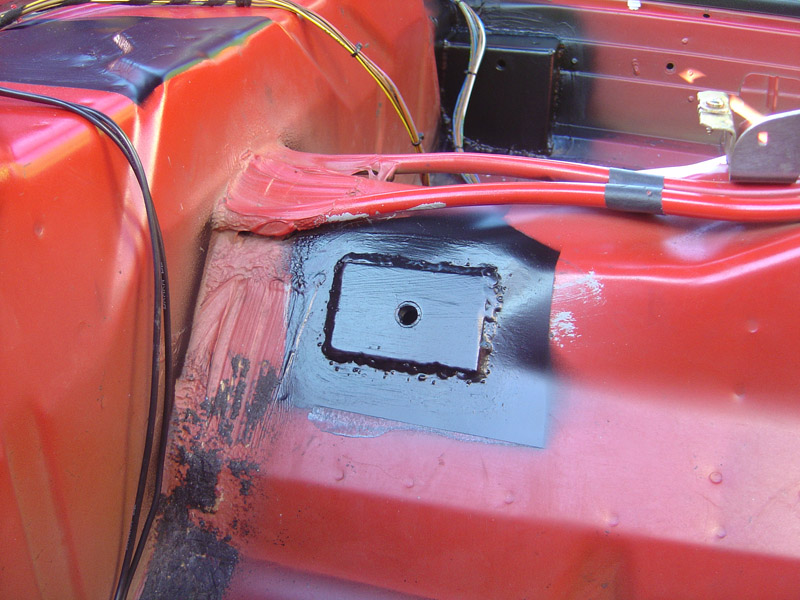 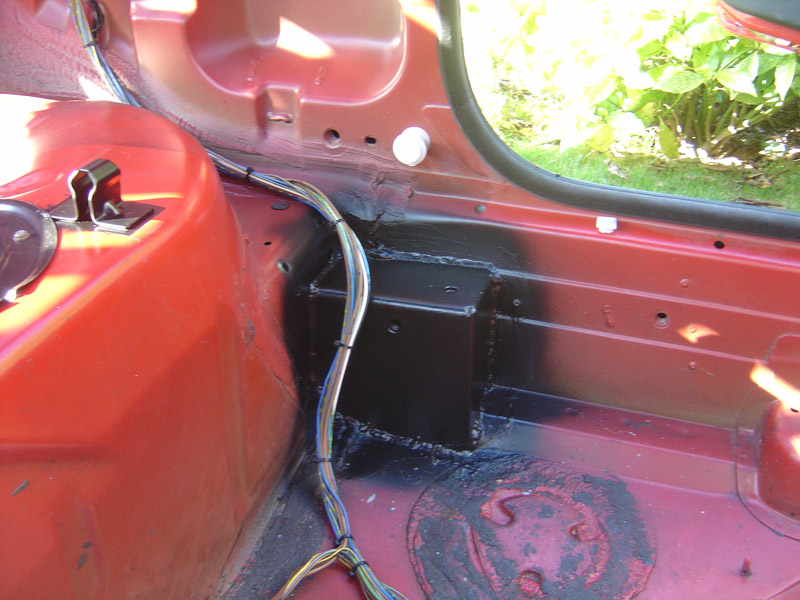 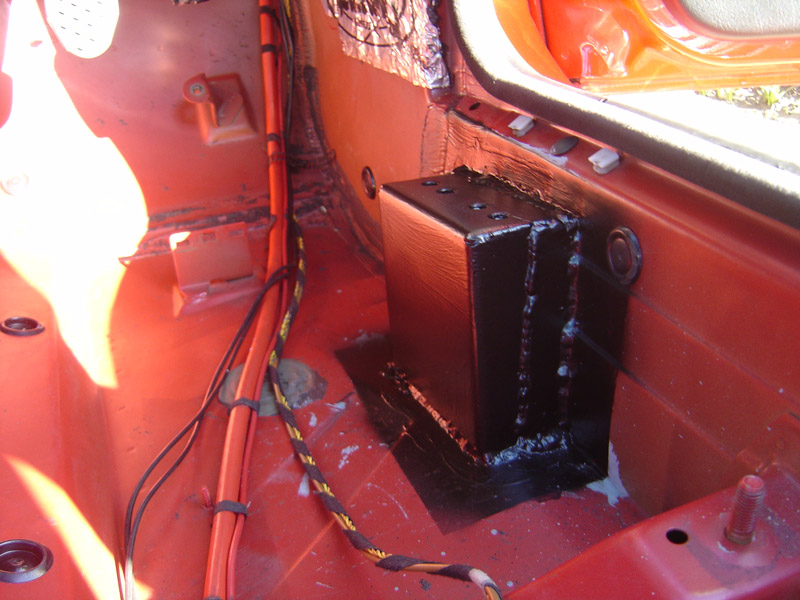 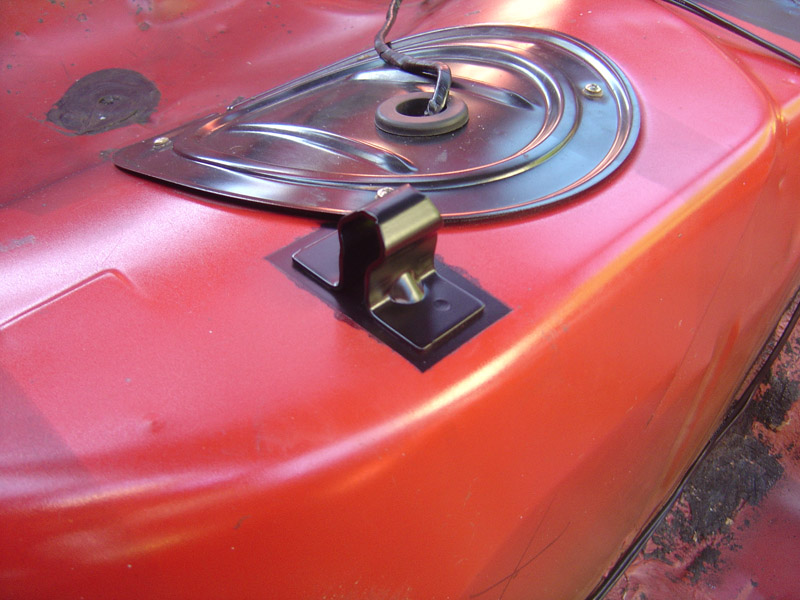 With the carpet going in the under floor heaving vents and wiring tracks were trimmed around the cage floor plates and re-fitted. 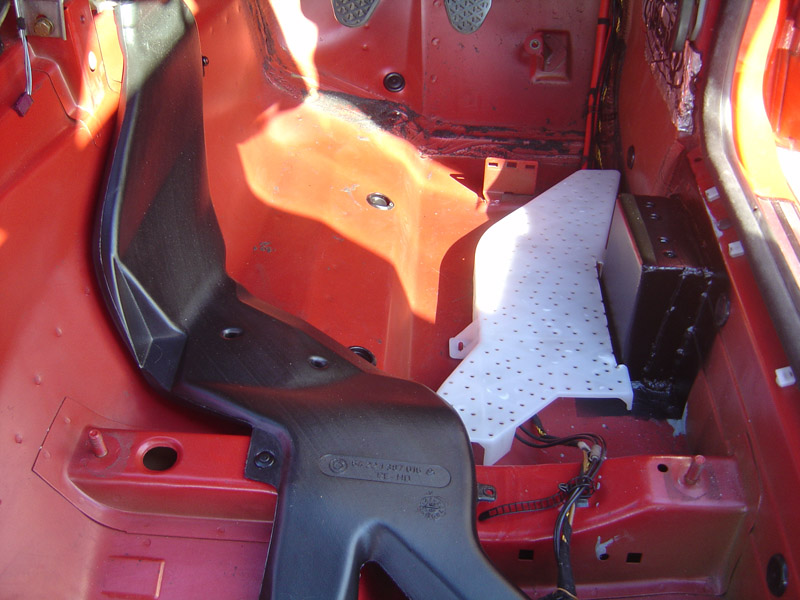 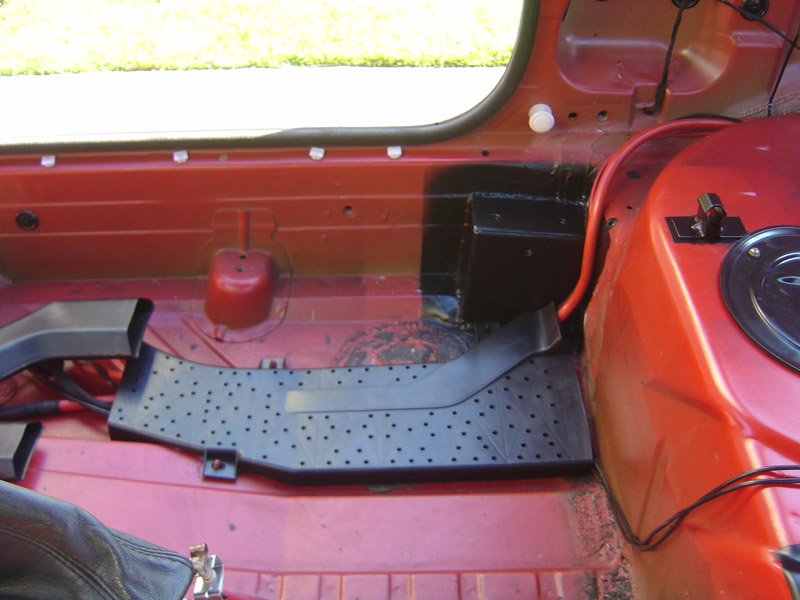 Next came the trimming of the carpet, this was a task I was dreading as I didn’t want to keep dragging the carpet in and out of the car, but at the same time wanted to get it right first time. I worked off the sill measurements and managed to get it relatively perfect, there was one mistake but using an off cut of the trimmed carpet this area could be patched and blended back into plate. For cutting the carpet I’d suggest investing in some fresh Stanley knife blades, you’d be surprised how many you go through too. 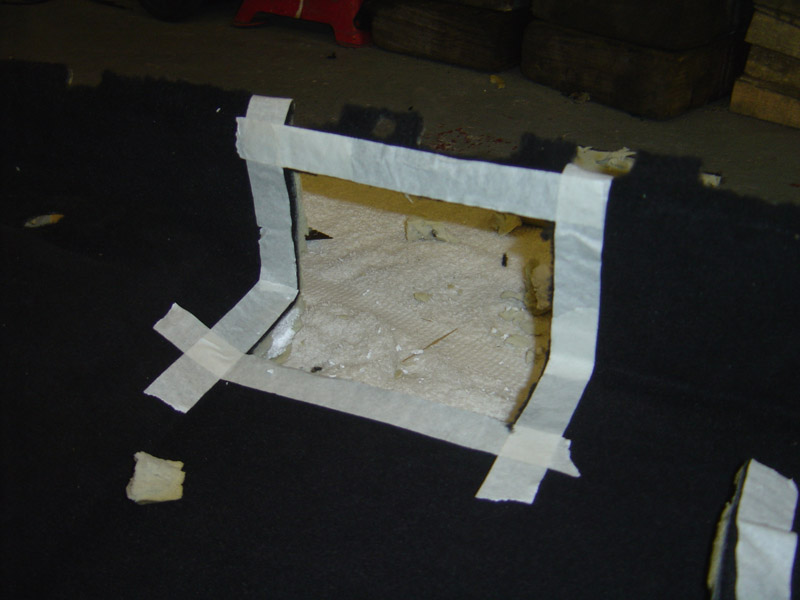 Finally the carpet was re-fitted, along with the dash and all the other interior trim that was to go back into the car. 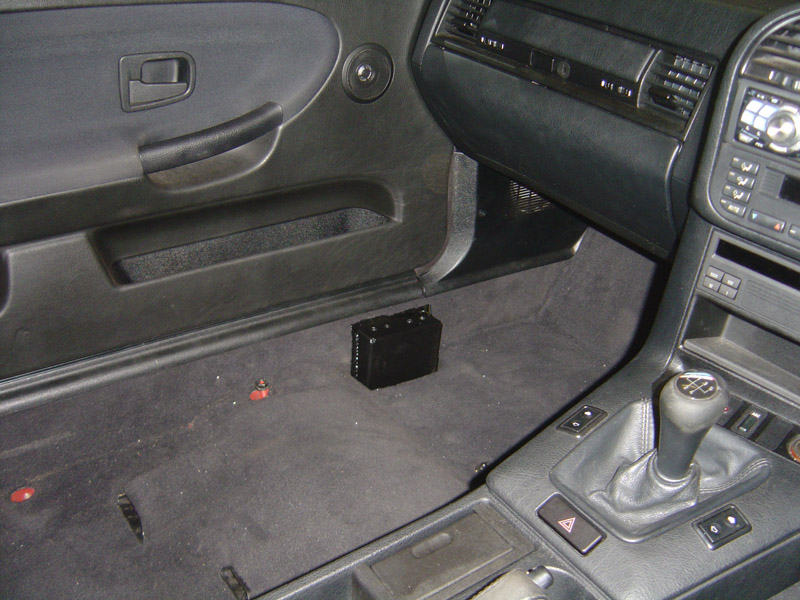 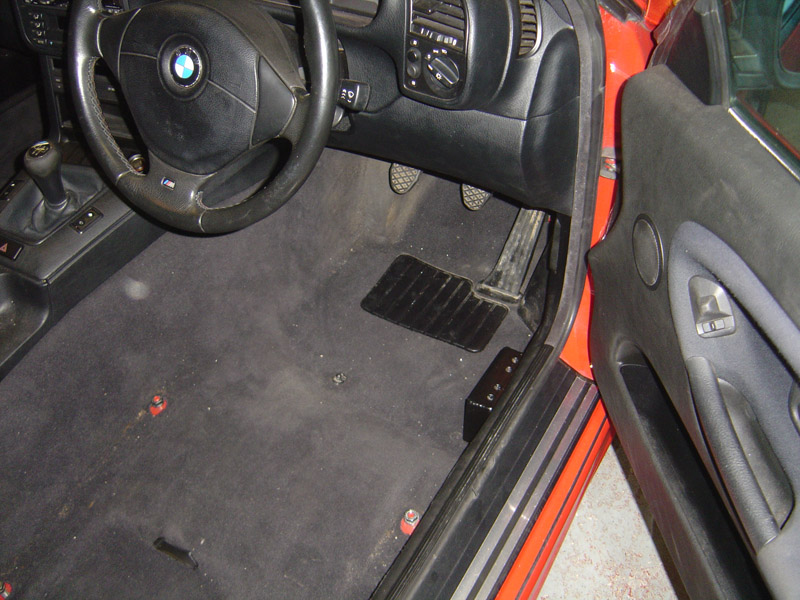 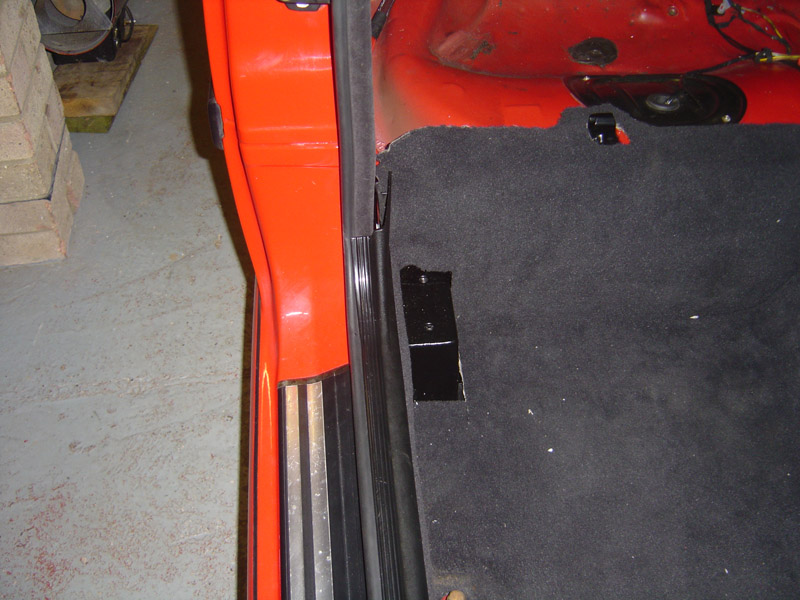 Now the rear of the car looked pretty bare, the red rear bench where the seats once were was exposed as well as a few wires. At first I thought I would just paint the rear bench black in hope to draw the attention away from it all but then decided to trim it, and make a proper job of it! First things first, I needed a rear fire wall... for months I’ve had a CAD file that someone was kind enough to send me from when they did the job, after a bit of digging around I struck lucky and found a company who would cut it at reasonable cost. So the following week I picked up one alloy rear fire wall, added a few bands in it to match the curves of the car and I was left with this; 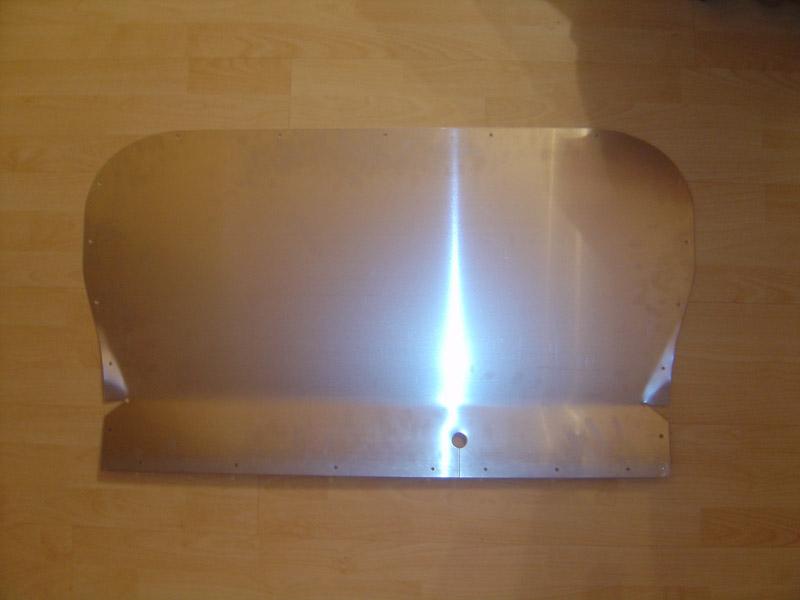 To fit, I simply used a drill and some pop rivets. 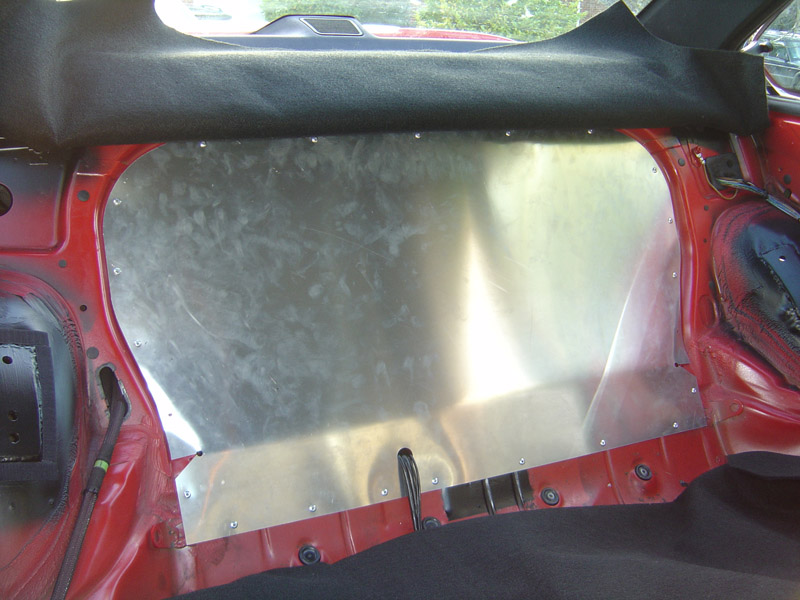 Finally, came the last stage of the interior; making a rear carpet, another task which I was dreading but been honest it went a lot better than planned. After looking at several carpeting options I settled on using a thick acoustic carpet, this gave a good match to the existing carpet and was also quiet flexible and followed the contours of the rear bench nicely. The carpet was made in 4 parts; base, back and two arch sides, to affix the carpet I used the ‘hooked’ side of some heavy duty 45mm thick Velcro this seemed to work a treat! Once the carpet was in the rear door cards were re-fitted too. Here’s a few shoddy pictures of the job, I’ll try and get some better quality pictures up shortly. The camera flash makes the carpet look a total miss match but in natural light it’s as good as a match as I could find. 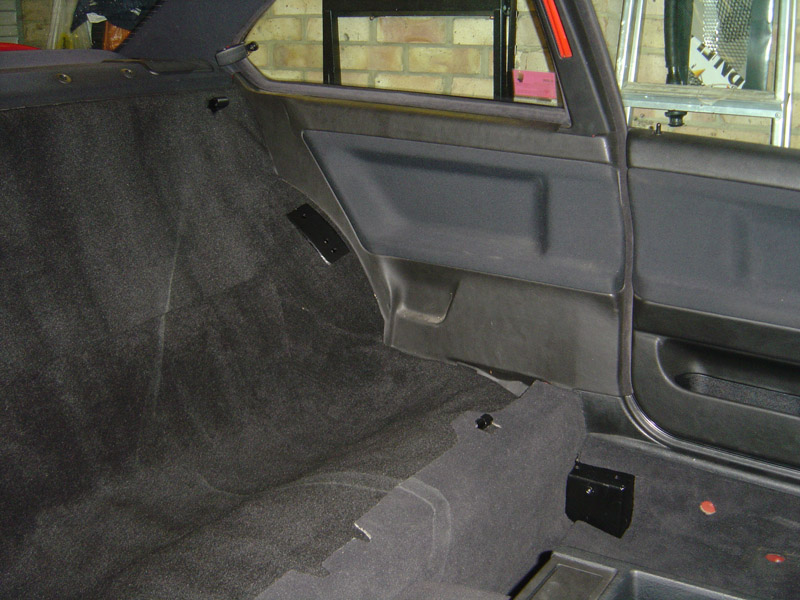 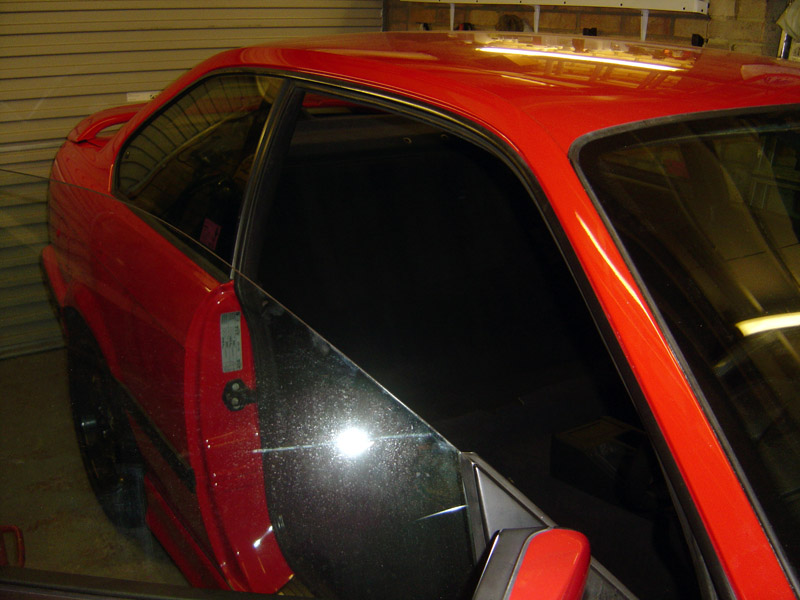 Two other interior touches were the rear parcel shelf was re-blacked using Autoglym Black Dye, in all honesty I’m not too happy with the job as its not totally black, but instead of been light sun-faded purple it’s now a deep shade of navy and the third brake light was removed and the space where the light would be was blacked off using black vinyl. 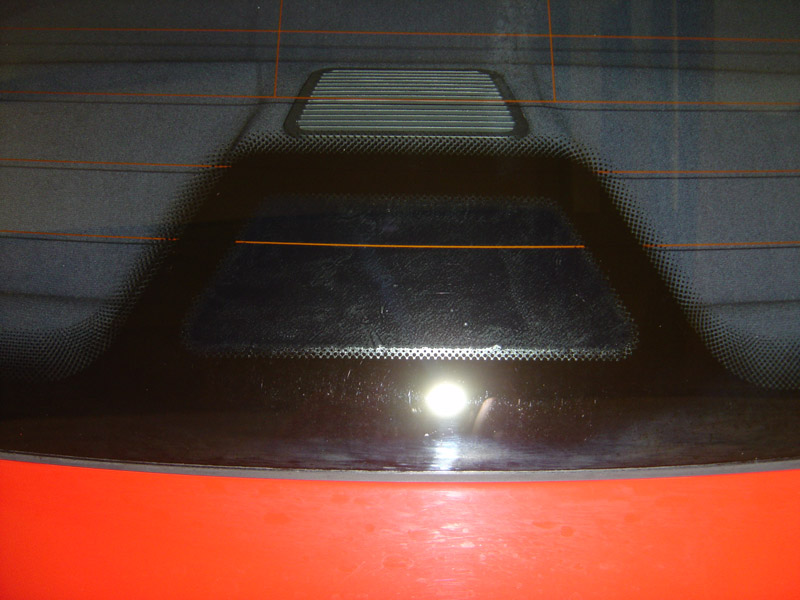 That’s all for this instalment of project infinity, more to come over the next week or two...
__________________
VAG Cars - www.vagcars.co.uk - North East VAG Owners Club |
|
|

|
|
|
#56 |
|
S5 - Full Throttle
Join Date: Jun 2009
Location: Guisborough
Posts: 453
Casino cash: $4472  |
Well I said the next update should be a big one, and I don’t want to disappoint!!
I’ll let the pictures do all the talking; don’t think a write up is needed here...  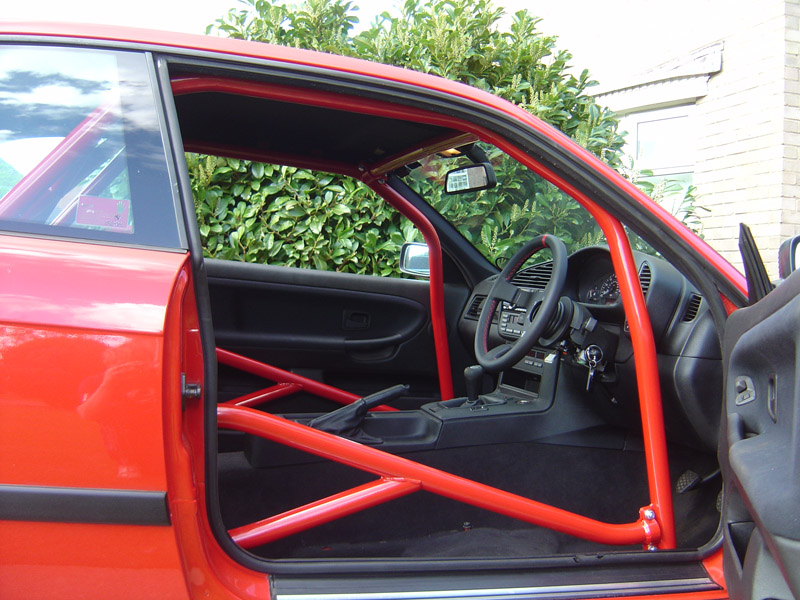 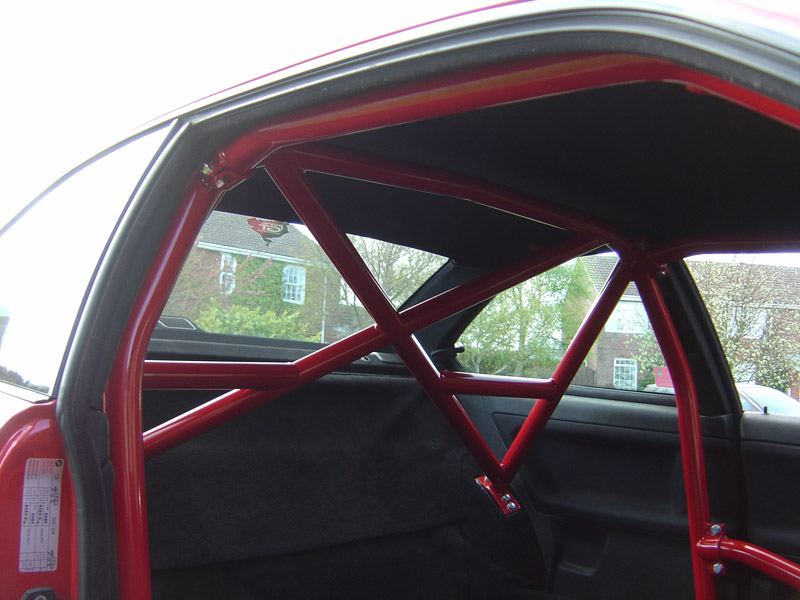 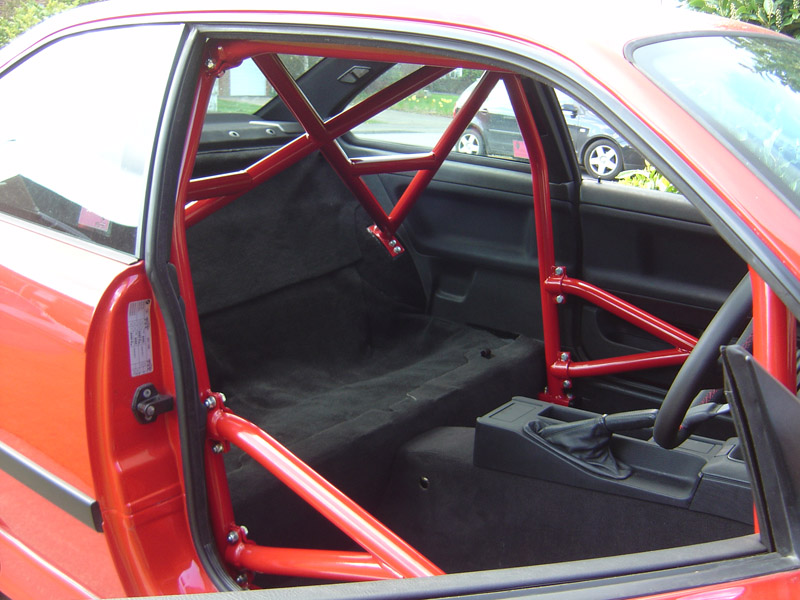 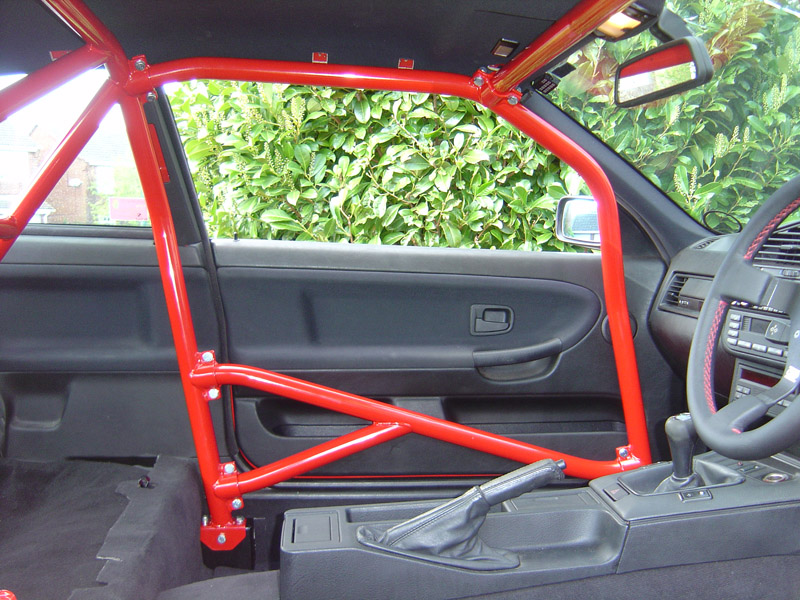 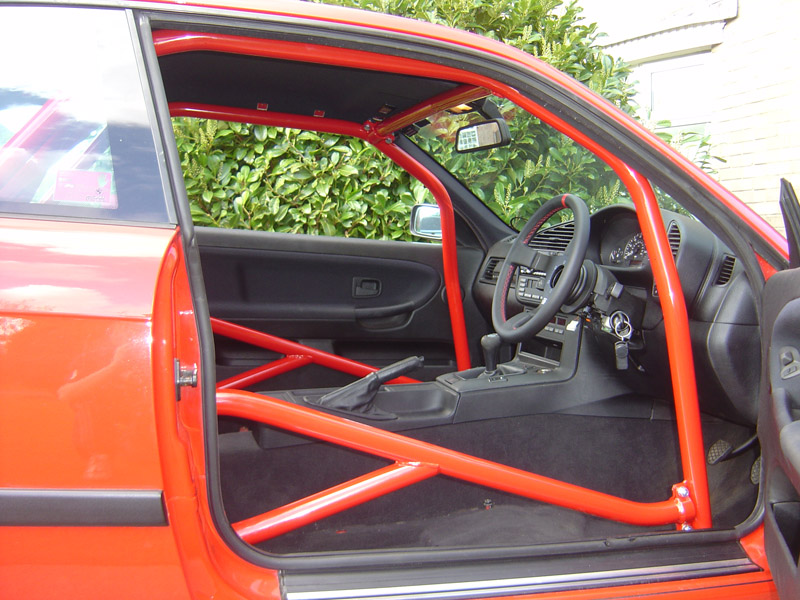 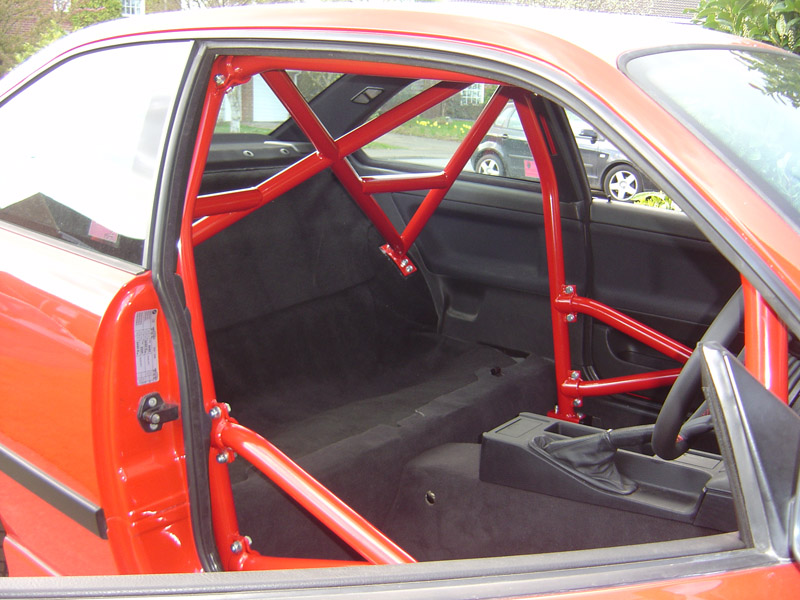 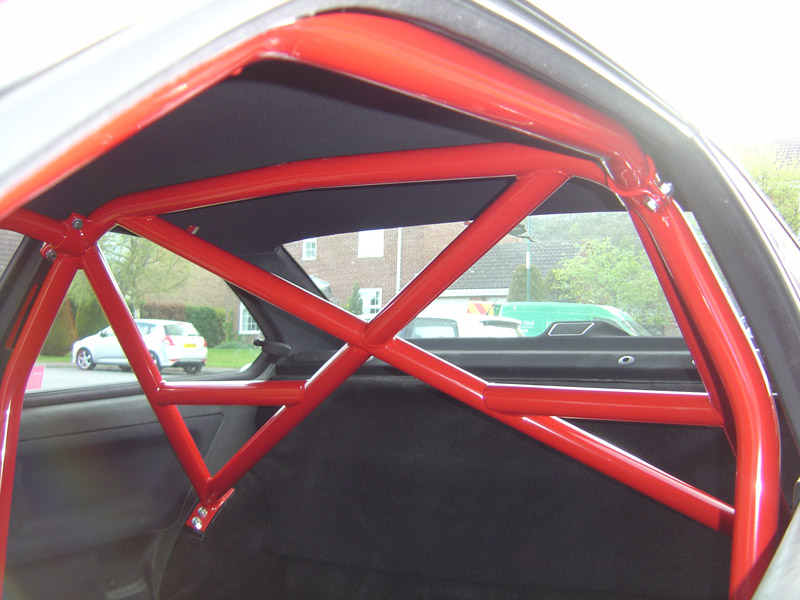 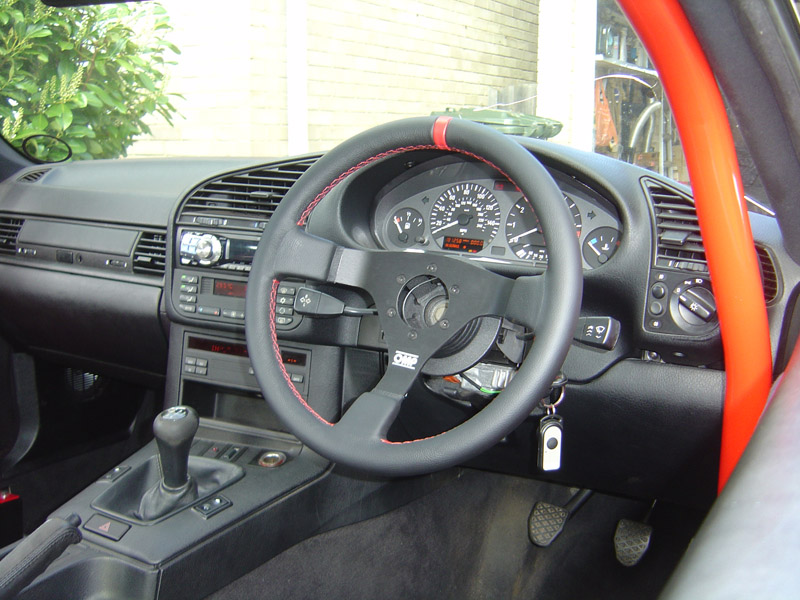 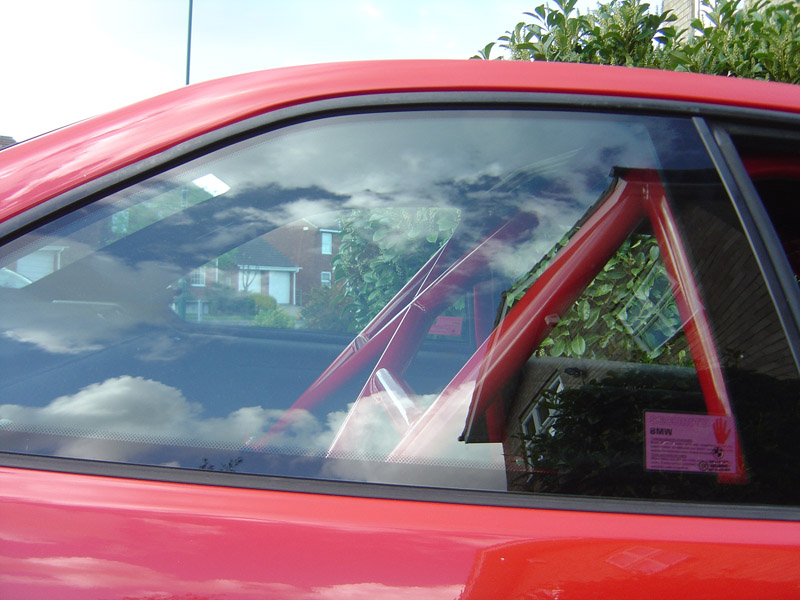 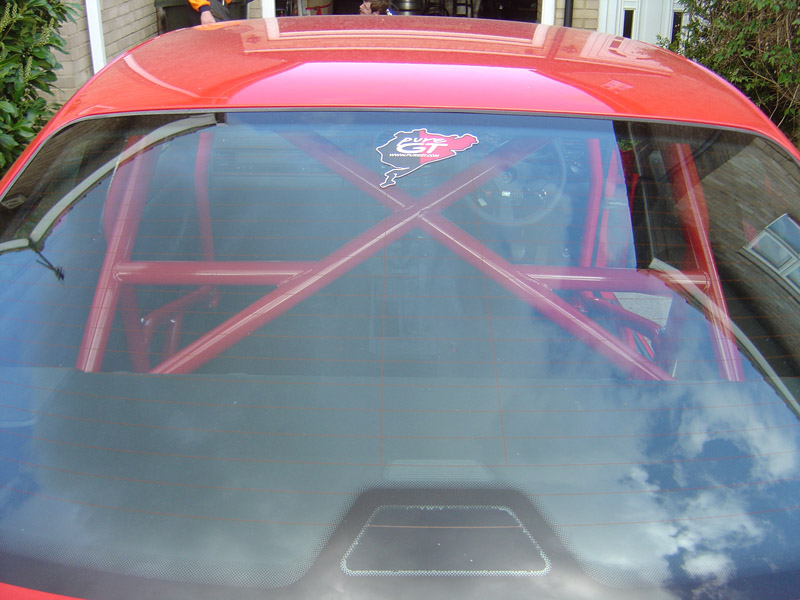
__________________
VAG Cars - www.vagcars.co.uk - North East VAG Owners Club |
|
|

|
|
|
#57 |
|
Driving it like I nicked it
 Join Date: Mar 2009
Posts: 2,785
Casino cash: $29970  |
looks good

|
|
|

|
|
|
#58 |
|
S6, Sport On, Traction Off
Join Date: Jun 2008
Location: Aberdeenshire
Posts: 1,947
Casino cash: $25387  |
Brilliant work Craig
   Looks amazing. |
|
|

|
|
|
#59 |
|
CSL Register Uber-poster!
 Join Date: Sep 2009
Location: Cambridge
Posts: 6,460
Casino cash: $27763  |
Fantastic work there Craig
 Great to see you going all the way, full steam ahead with this one Great to see you going all the way, full steam ahead with this one 
__________________
 UK CSL No.020 ... after 7 years of ownership  I've now SOLD it !!! I've now SOLD it !!! 
|
|
|

|
|
|
#60 |
|
Driving it like I nicked it
Join Date: Dec 2007
Location: Northern Ireland
Posts: 2,623
Casino cash: $14519  |
Excellent work Craig, looks really well and finished to a top standard. Get the seats and harnesses in for some more photos, top man.
|
|
|

|
 |
|
|