
 |
|
|
#31 |
|
Driving it like I nicked it
 Join Date: Mar 2009
Posts: 2,786
Casino cash: $29971  |
And the acceleration numbers.
50-130km/h in 3rd from 8.9secs dropped to 8.2secs 
|
|
|

|
|
|
#32 |
|
Driving it like I nicked it
 Join Date: Mar 2009
Posts: 2,786
Casino cash: $29971  |
Today I finally got a set of wheels for the summertime (the other 17" are now dedicated track wheels).
I sourced a set of M5 E34 (3. It must be the only Z3 with these wheels in the world. I love the way it looks. The offset is massive and I don't need to run spacers anymore. 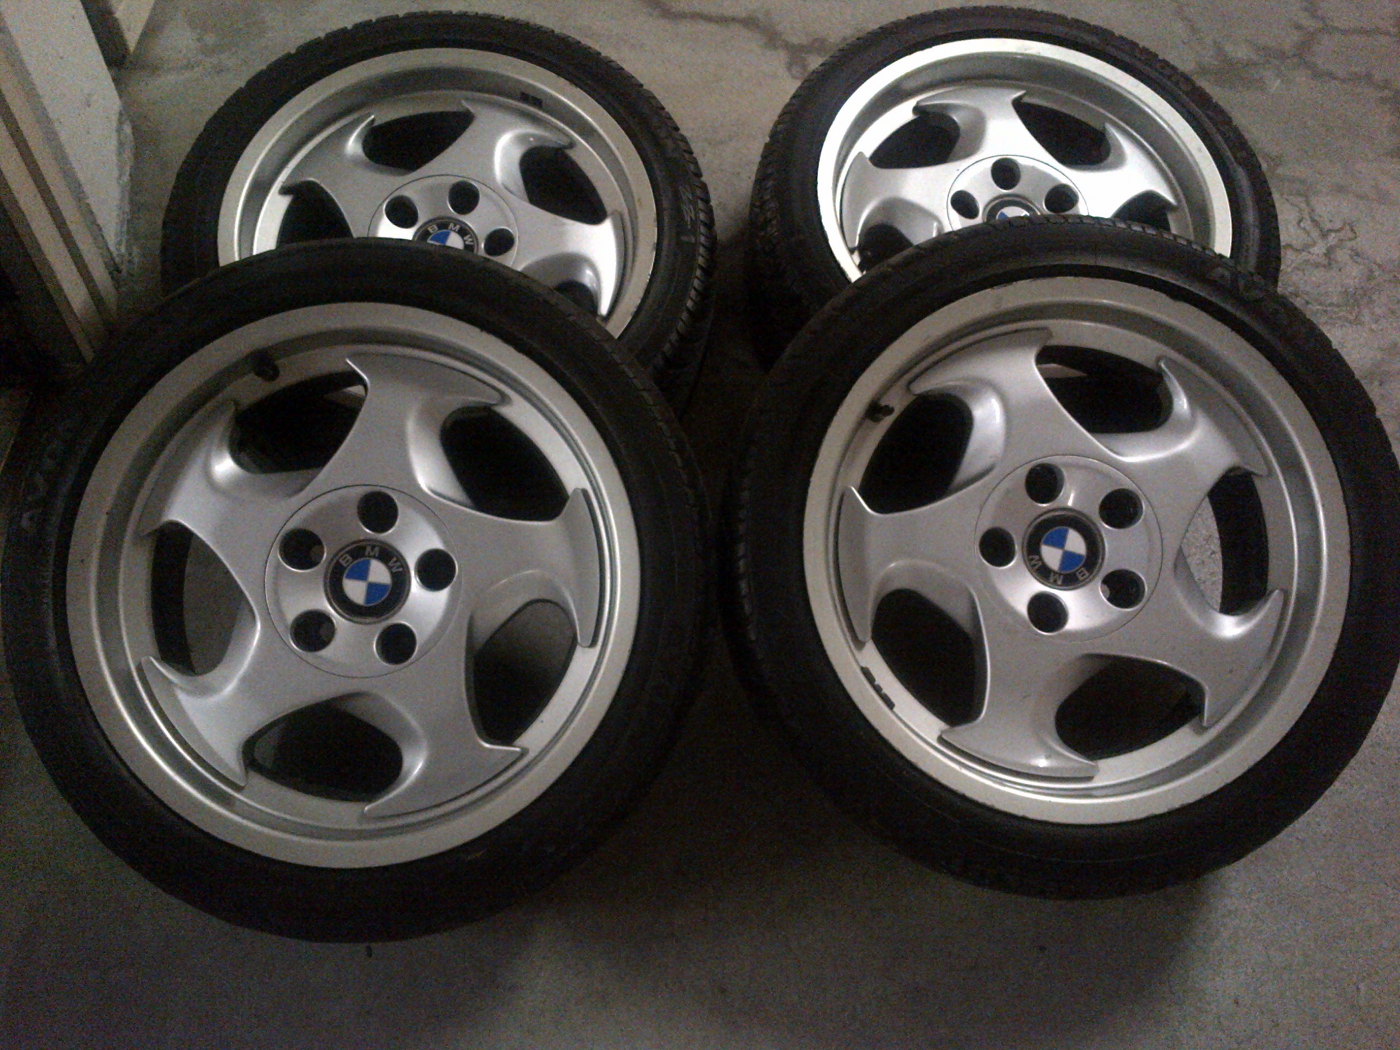 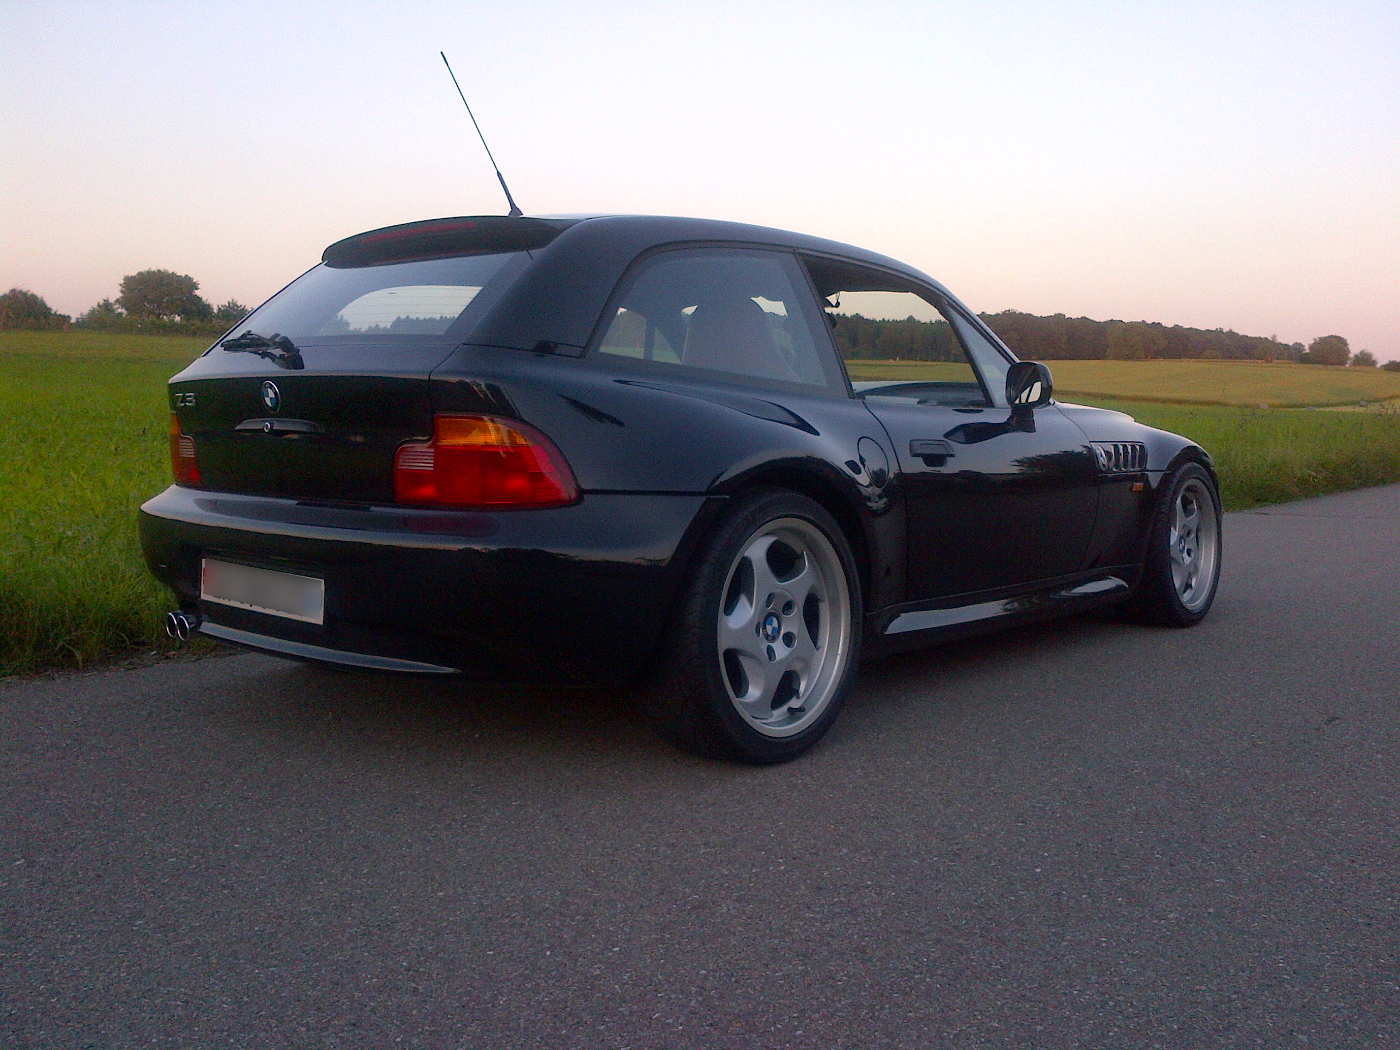 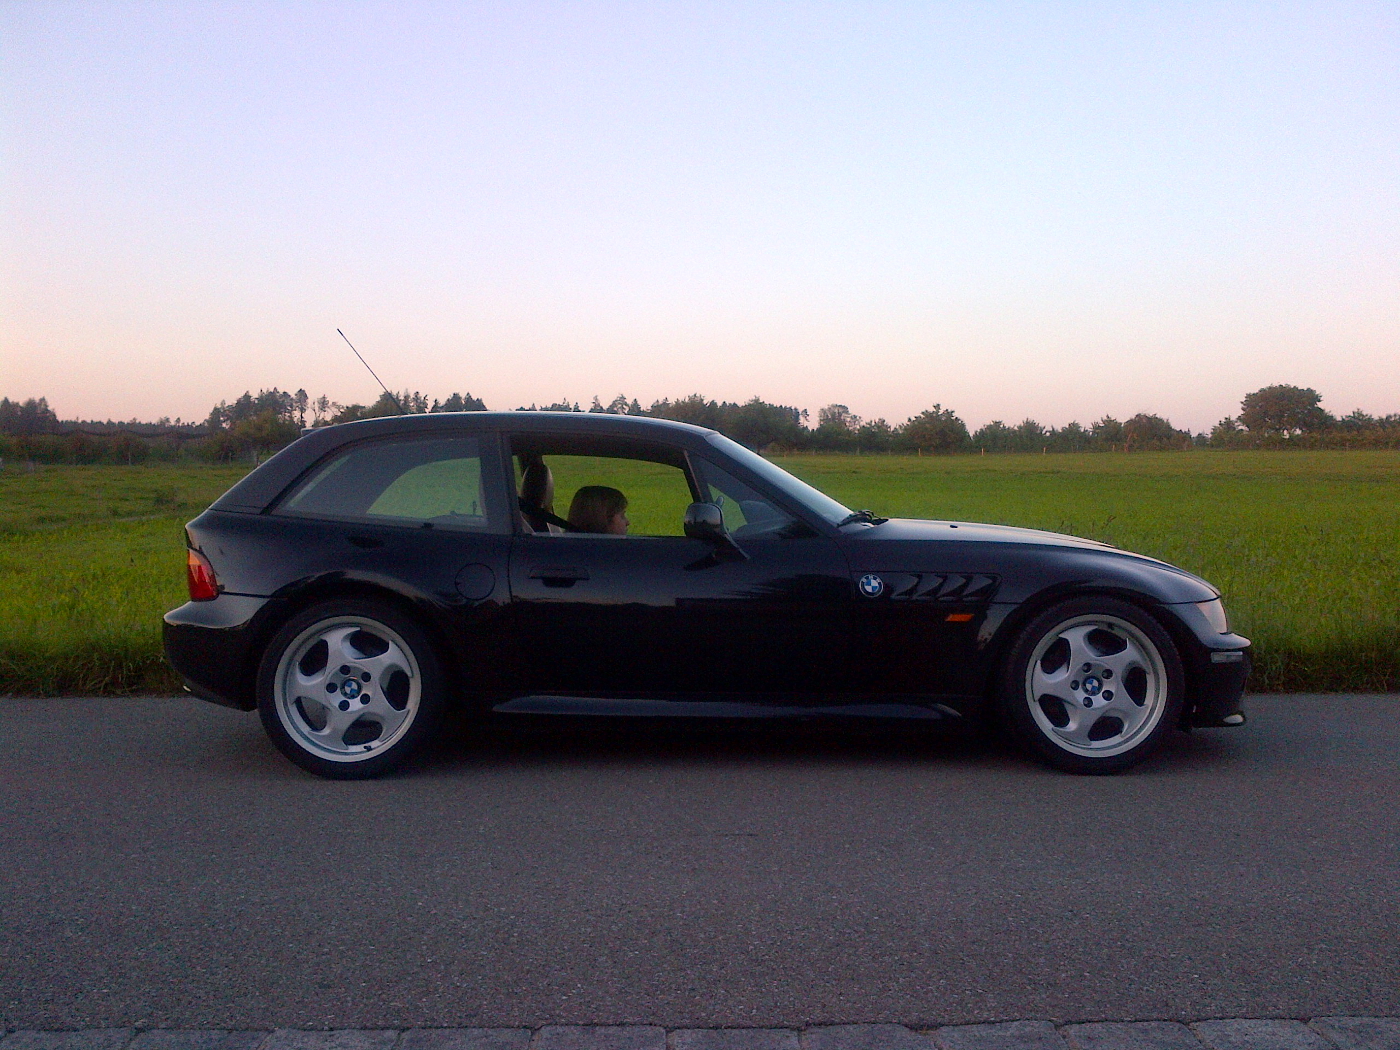 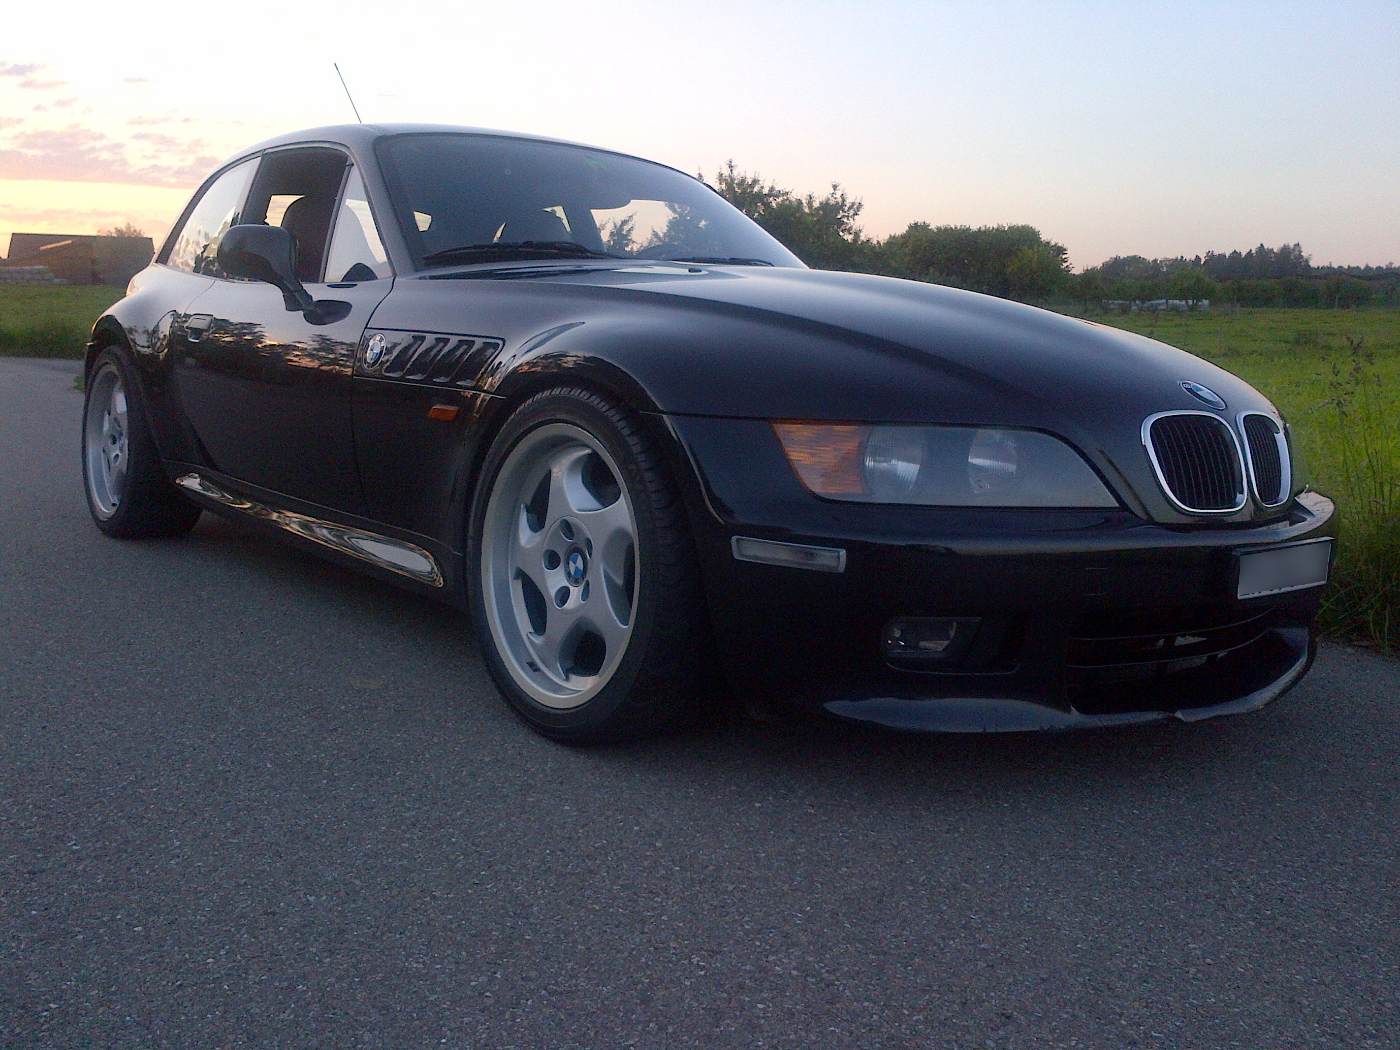 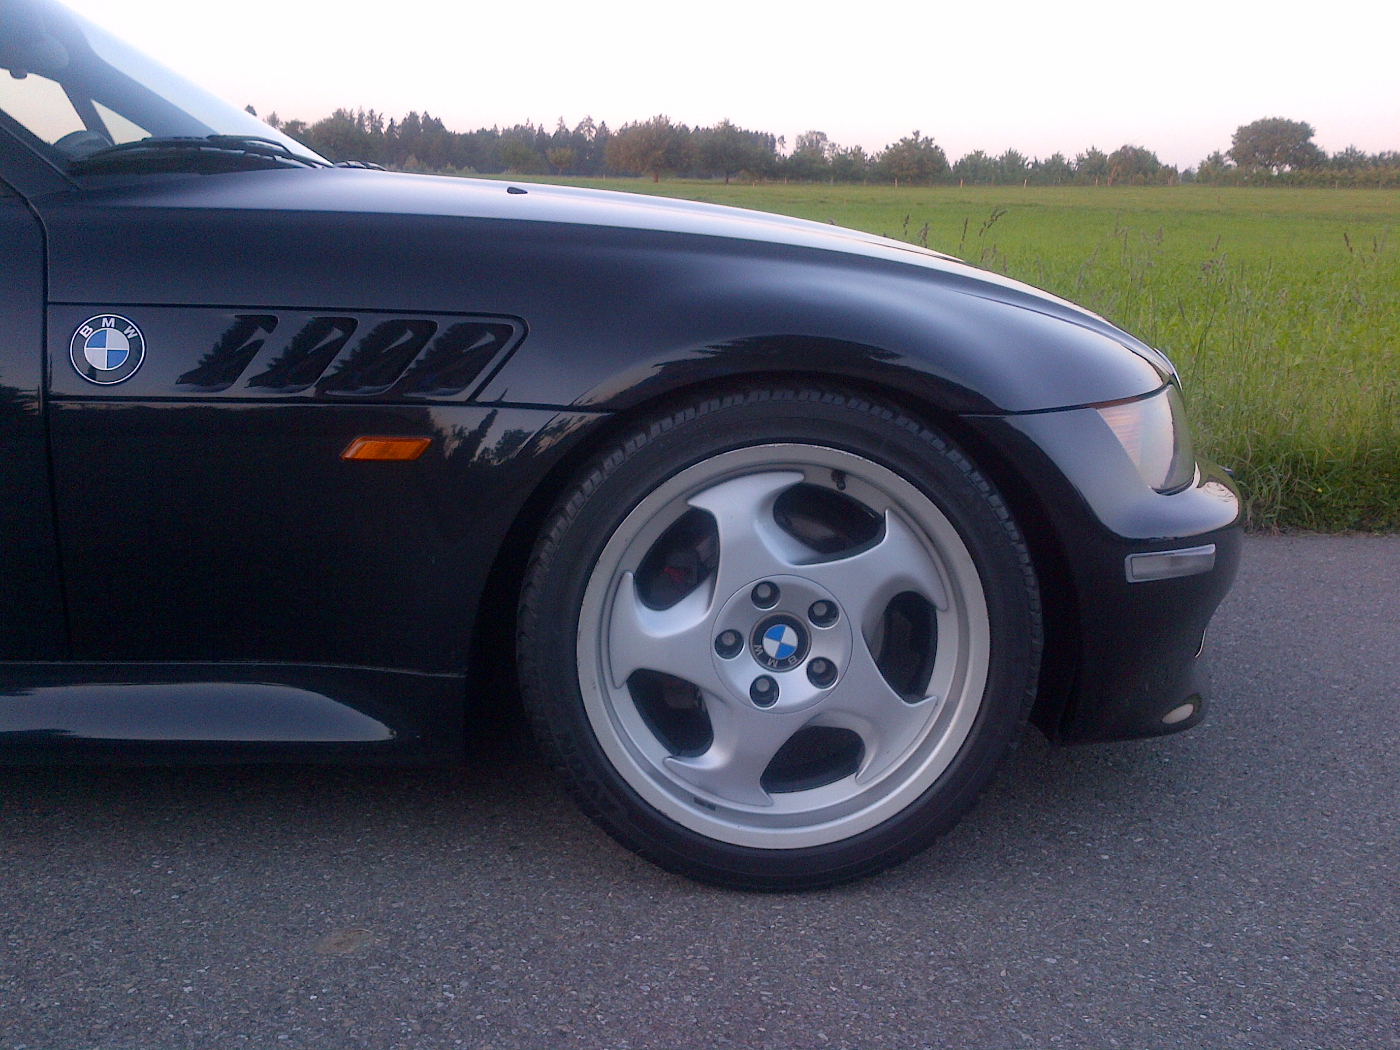 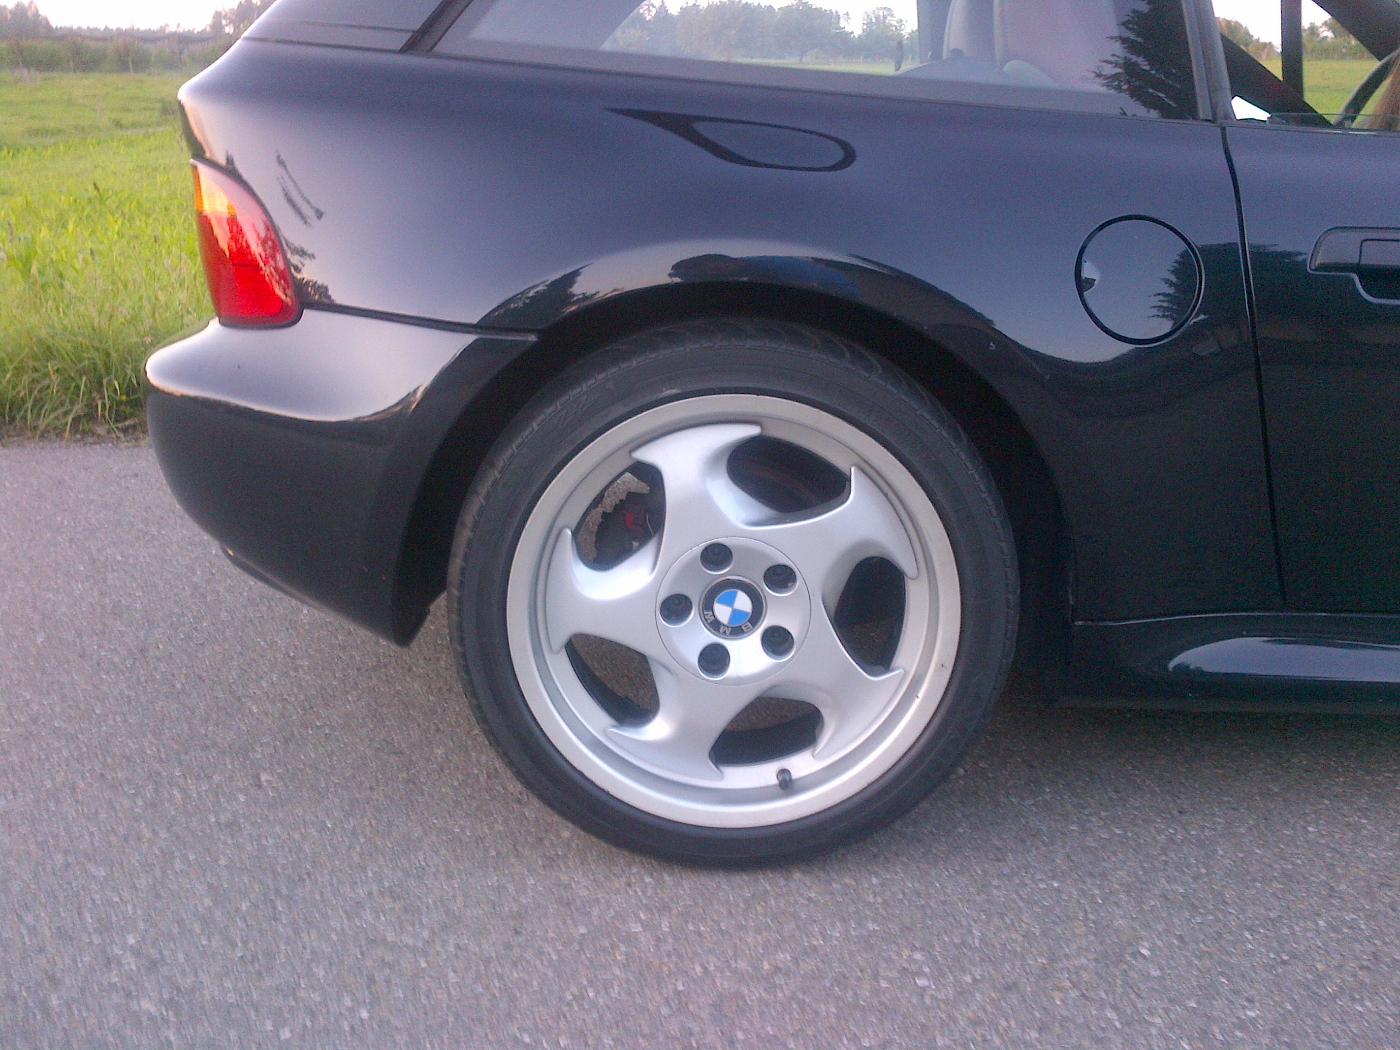
|
|
|

|
|
|
#33 |
|
CSL Register Uber-poster!
  Join Date: Apr 2008
Location: Uk
Posts: 14,646
Casino cash: $43909  |
those honestly do look great Alex.
__________________
. |
|
|

|
|
|
#34 |
|
Driving it like I nicked it
 Join Date: Mar 2009
Posts: 2,786
Casino cash: $29971  |
A stabilizer question.
The normal Z3 has on the front stabilizers the small stabilizer link that attaches to the front swingarms. Here you can see part number 16. The Z3 M has a longer stabilizer link that attaches to the shock absorber. Here you can see part number 17. I can only think that one advantage is that the longer stabilizer link has 2 uniballs while the short one has a uniball and a bushing. Do you think there is any other advantage ? I have the suspension of a Z3 M and I could easily do this "upgrade". Also, have a look at the diameter of the stabilizer link. My Z3 2.8 has 26mm while the Z3 M has 23mm. That's a bit odd. Let me know what you think guys. |
|
|

|
|
|
#35 |
|
Driving it like I nicked it
 Join Date: Mar 2009
Posts: 2,786
Casino cash: $29971  |
An update
I installed a front strut brace  And installed the 2nd CSL battery on the Z3. 19 kg the 70Ah 16 kg the 50Ah So minus 3kg |
|
|

|
|
|
#36 |
|
Driving it like I nicked it
 Join Date: Mar 2009
Posts: 2,786
Casino cash: $29971  |
Started changing the brakes with Brembo discs + pads.
I bought a caliper carrier from the E46 and now the discs are 300x22 instead of the original 276x22.  It was a good opportunity to take out the rust and repaint my calipers.    Of course, I put new brake fluid in the brake system.   And a pic with the wheel.   Here are the old brake pads, EBC Redstuff. I cannot say I was happy with them. 
|
|
|

|
|
|
#37 |
|
Driving it like I nicked it
 Join Date: Mar 2009
Posts: 2,786
Casino cash: $29971  |
And here is my new roof rack.
It's very practical when wanting to transport the trackday tyreset.   
|
|
|

|
|
|
#38 |
|
Driving it like I nicked it
 Join Date: Mar 2009
Posts: 2,786
Casino cash: $29971  |
An update about the Z3C as I have done a lot of work.
1. I got a set of GC rear top mounts. The ones I had were shot. The quality is very good and for 99$ you could say they are a bargain.   The result is very good. The rear end is much more firm. The previous top mounts had a play of 1-2 cm up and down. 2. I did a rear axle rebuild as I did to my CSL some months ago. I wanted to replace the rear bushes (from the beam) and also install a LSD with clutch plates. It's from an M3 E30 and I got it from Mr Gorilla, which I thank for all the help. The ratio is shorter, 3.15 was the original LSD and this one is 3.46. Here is the famous torsen OEM LSD that all non-M Z3s with an LSD have. You can see the special cogs.  Here is the M3 E30 LSD.  I had to swap the drive flanges as the shafts are very different. On the left the M3 E30 and on the right the Z3 one.    Here a photo when taking out the rear beam and arms  Then, I decided to take the rust out from the beam. Pain sweat and tears...   Some anti-rust paint.  Next thing was to remove the beam bushes. They were completely shot. No surprise as they were the original fitment and the car has 193k km.  I used my MIG welder to create my own bush removal tool    Here is the beam painted and with powerflex bushes.  Then I replaced the bushing on the diff cover and I cut down 2 fins and made hole and threads to install the temperature sensor.   The axle joint was also worn out. Again no surprise as it hasn't been changed since the car left the factory. I installed the spare axle joint I have from my CSL. It is reinforced. Here is important to say that you need to replace the bolts with longer ones, same with the ones the CSL has.  On the left the Z3 one and or the right the CSL one.    Here are the bolts.  Then I put cables for the oil pump and the gauge. You can also see a switch to turn on/off the oil pump.  Here is the oil pump. I made a mount for it and installed the pipes.     Last but not least I fabricated a piece of aluminium/carbon to mount the gauge and switch.   The gauge  The switch 
|
|
|

|
|
|
#39 |
|
Driving it like I nicked it
 Join Date: Mar 2009
Posts: 2,786
Casino cash: $29971  |
And here are the differences in acceleration.
The tests are with 3rd gear, 50-120. Same tyres, fuel tank is full and same road/spot. Ζ3 stock time started : 11:43:16.40 speed : 050.26 km/h height : +0431.70 m time stopped : 11:43:24.00 speed : 120.14 km/h height : +0429.19 m height difference = -2.50 m elapsed time = 7.6 s Ζ3 with M54 intake manifold time started : 17:30:22.60 speed : 050.30 km/h height : +0431.40 m time stopped : 17:30:29.90 speed : 120.14 km/h height : +0431.10 m height difference = -0.29 m elapsed time = 7.3 s Ζ3 with 3.46 differential (instead of 3.15) and M54 intake manifold time started : 13:21:03.40 speed : 051.60 km/h height : +0419.91 m time stopped : 13:21:09.60 speed : 120.81 km/h height : +0426.19 m height difference = 6.27 m elapsed time = 6.2 s Note in the last test I am going uphill (altitude is increased by 6.27m). |
|
|

|
|
|
#40 |
|
S5, Sport Off, DSC M-track
Join Date: Apr 2008
Posts: 740
Casino cash: $14401  |
Hi Alex,
All looking good. At this rate the CSL will be redundant soon. Squeeze another 25/30 BHP out that Alloy lump and it will be a good match on any short tight circuit for its Stable mate. Regards, The Gorilla. |
|
|

|
 |
|
|